Create your account & onboarding
Onboarding is where you write the rules the app will hold you to. Do it when you are calm and have fifteen quiet minutes. Everything you enter can be changed later, except the rules you choose to lock in the final step.
Sign up
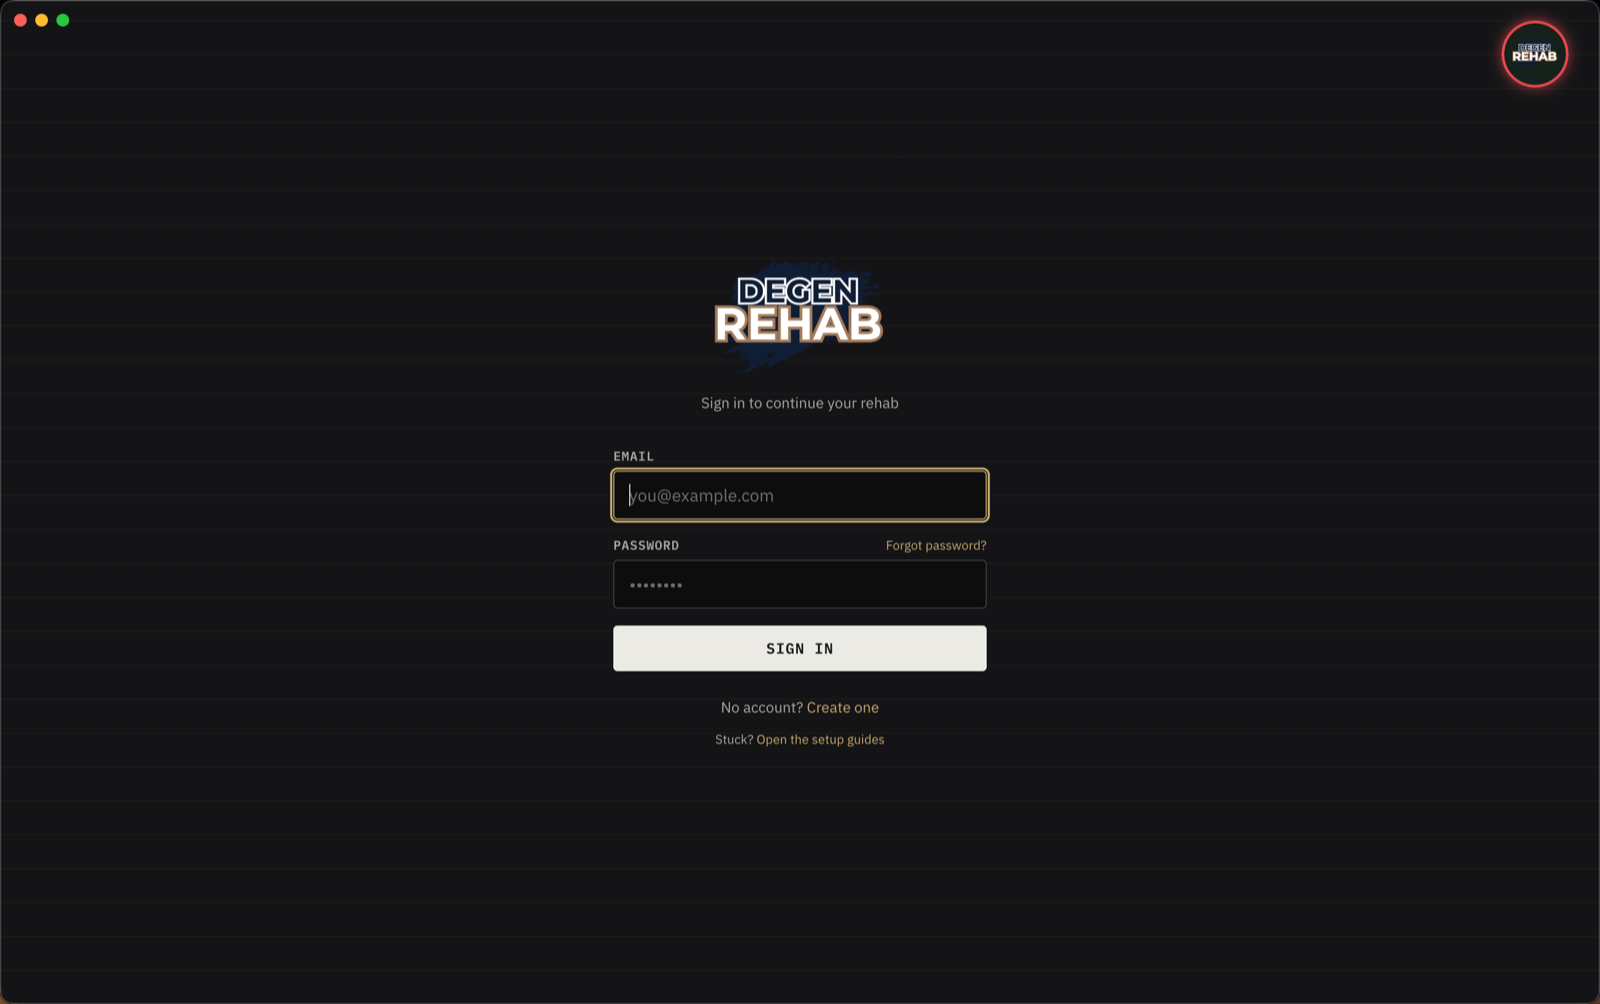
- Open the app and click Create one under the sign-in form.
- Enter a display name, your email, and a password of at least 8 characters. The display name is what your cohort sees in chat and on your profile, so a nickname is fine if you would rather not use your real name. Type the password a second time in Confirm password. Click Show next to the password label if you want to see what you typed.
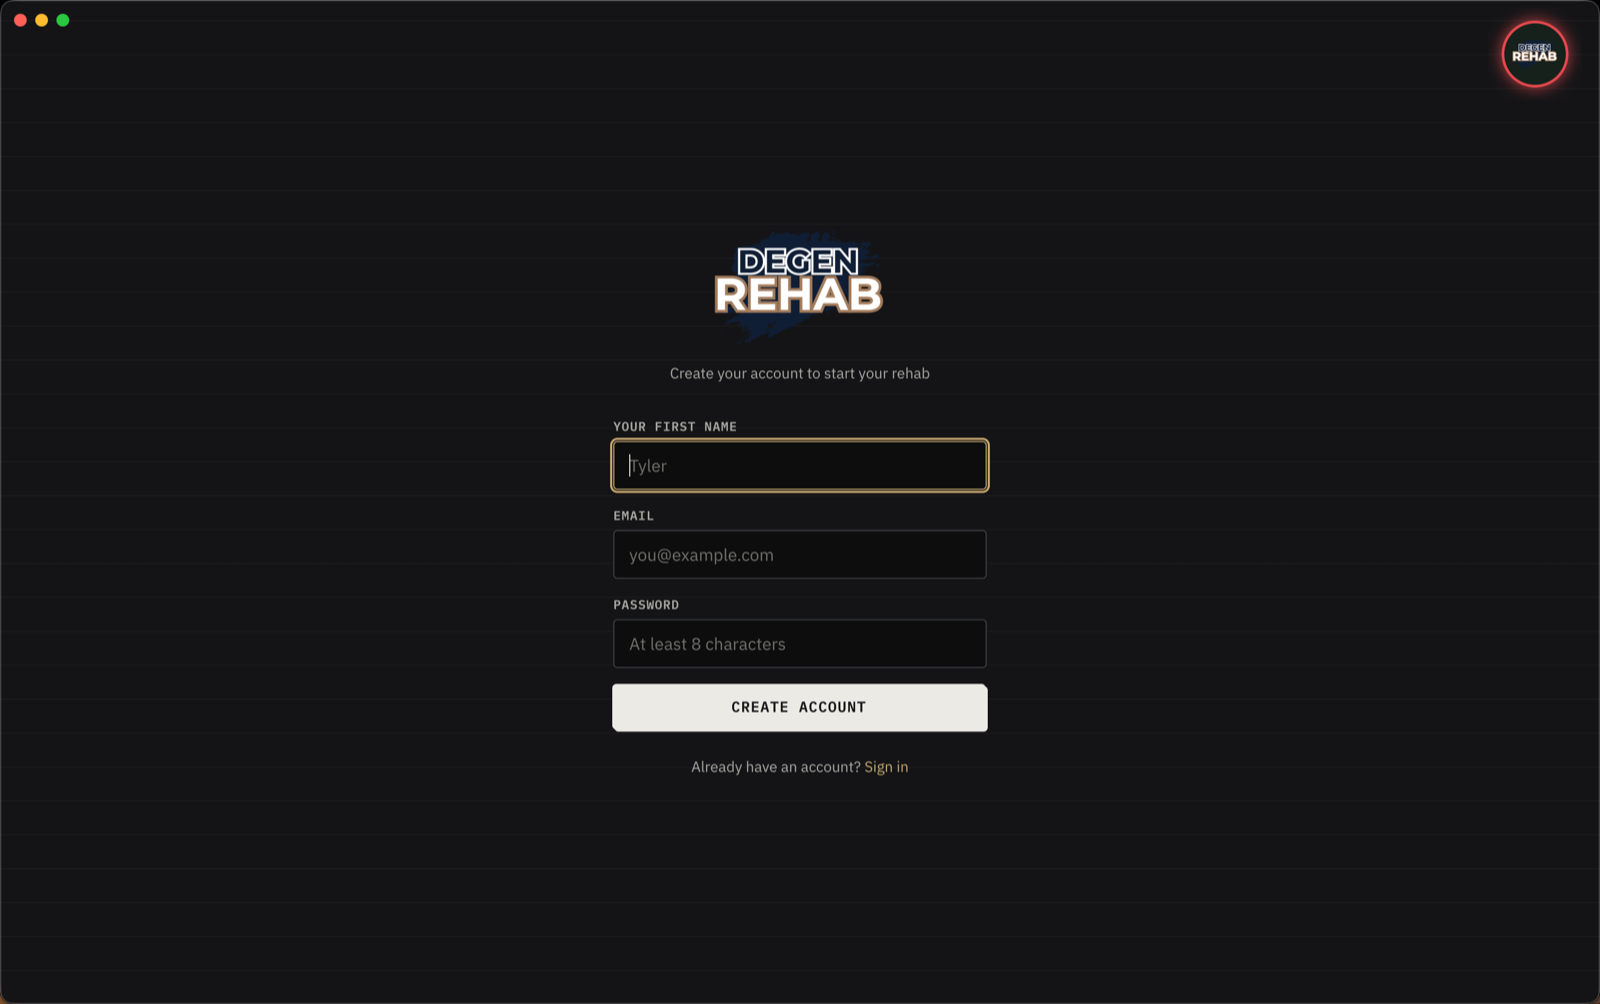
- Check your inbox. We email a 6-digit code to the address you entered. Type it into the app and click Verify & Continue. It can take a minute, and check spam. Send a new code gets you a fresh one. You land in onboarding.
The eight onboarding steps
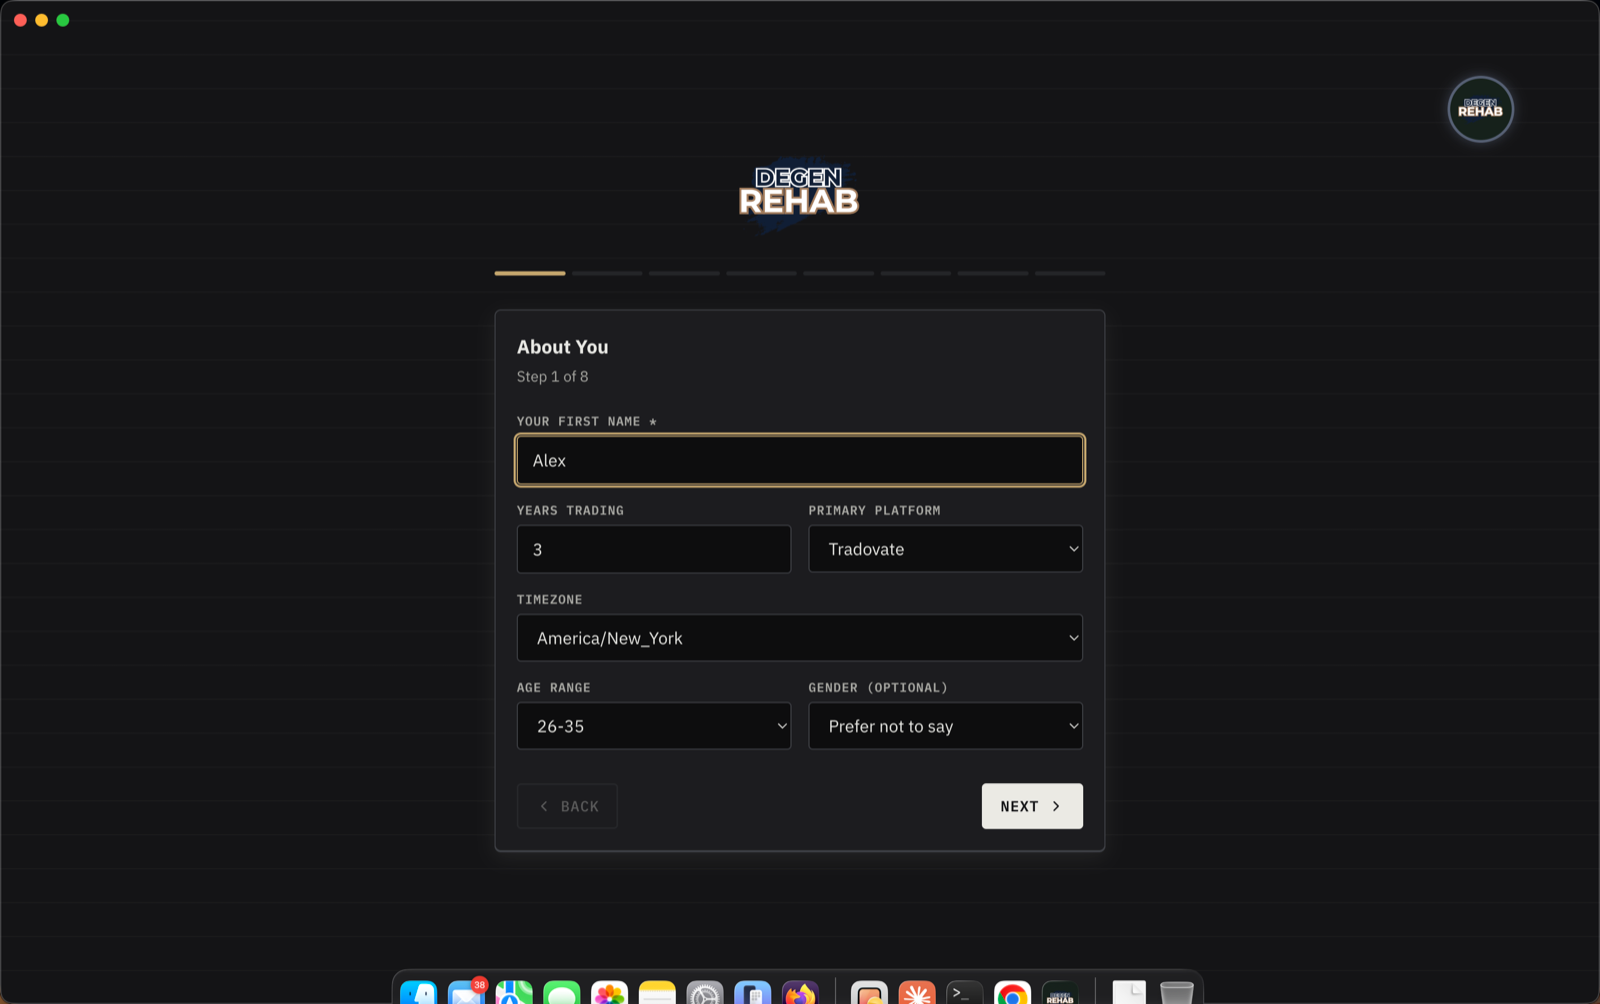
Step 1 — About You
Your display name, years trading, the platform you mainly use, your time zone, age range, and an optional gender field. The platform and time zone help match you with a cohort of similar traders.
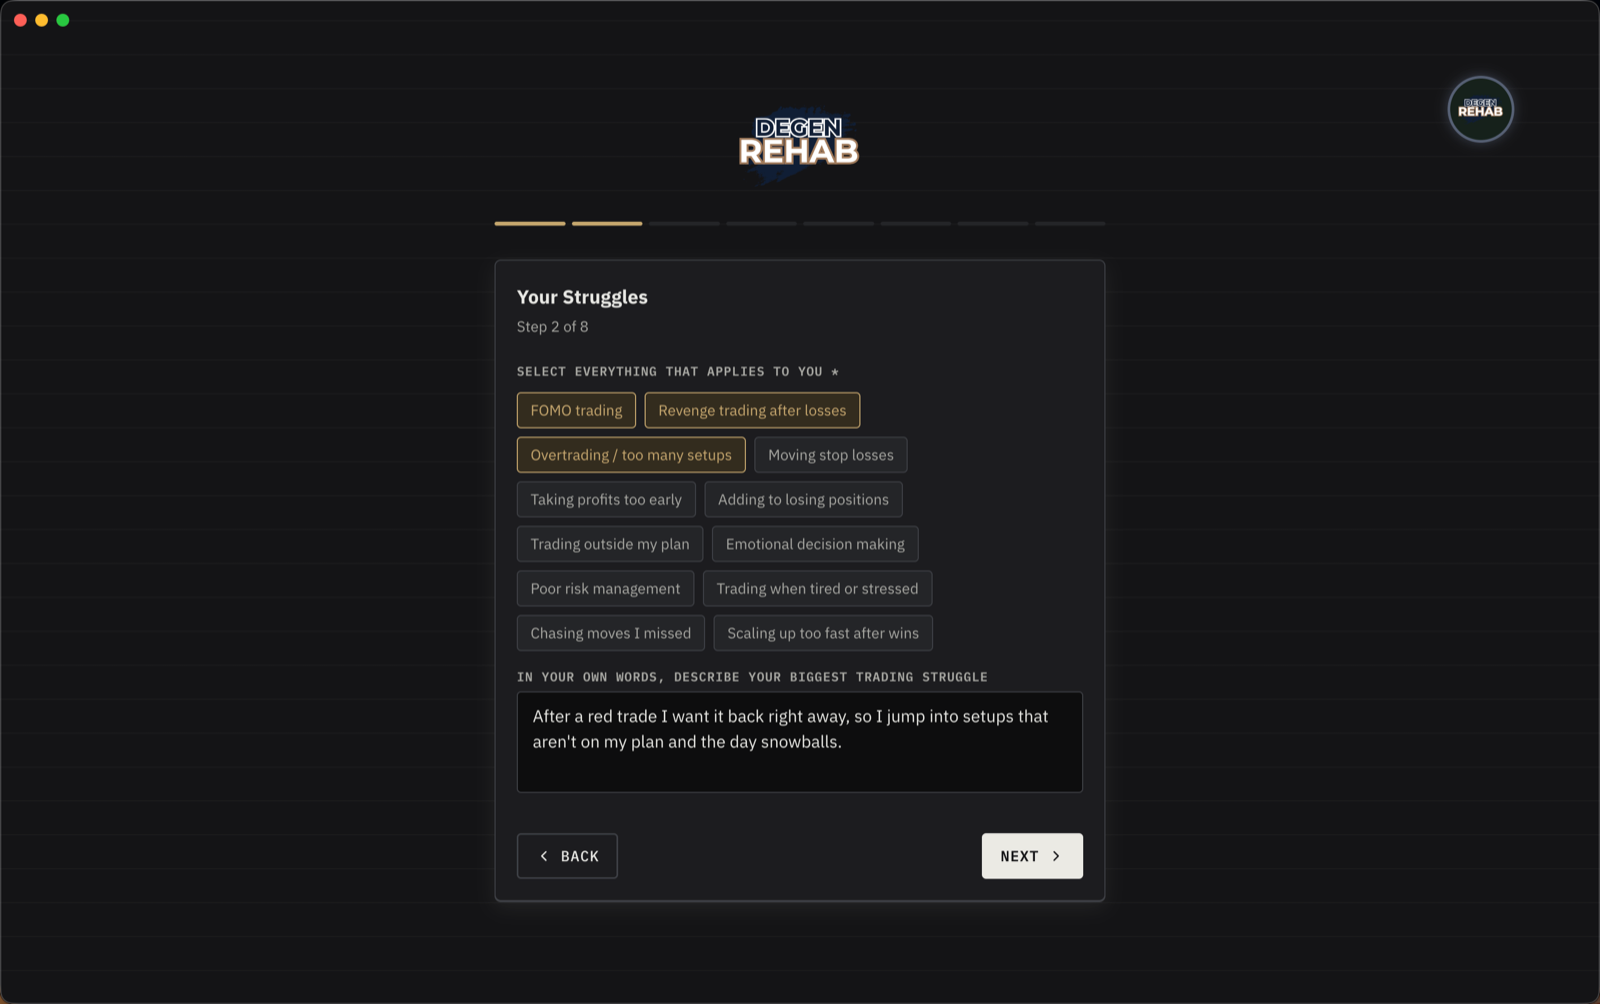
Step 2 — Your Struggles
Tap every pattern that applies to you, then describe your biggest struggle in your own words. Be honest. The app uses these to match you with people fighting the same things.
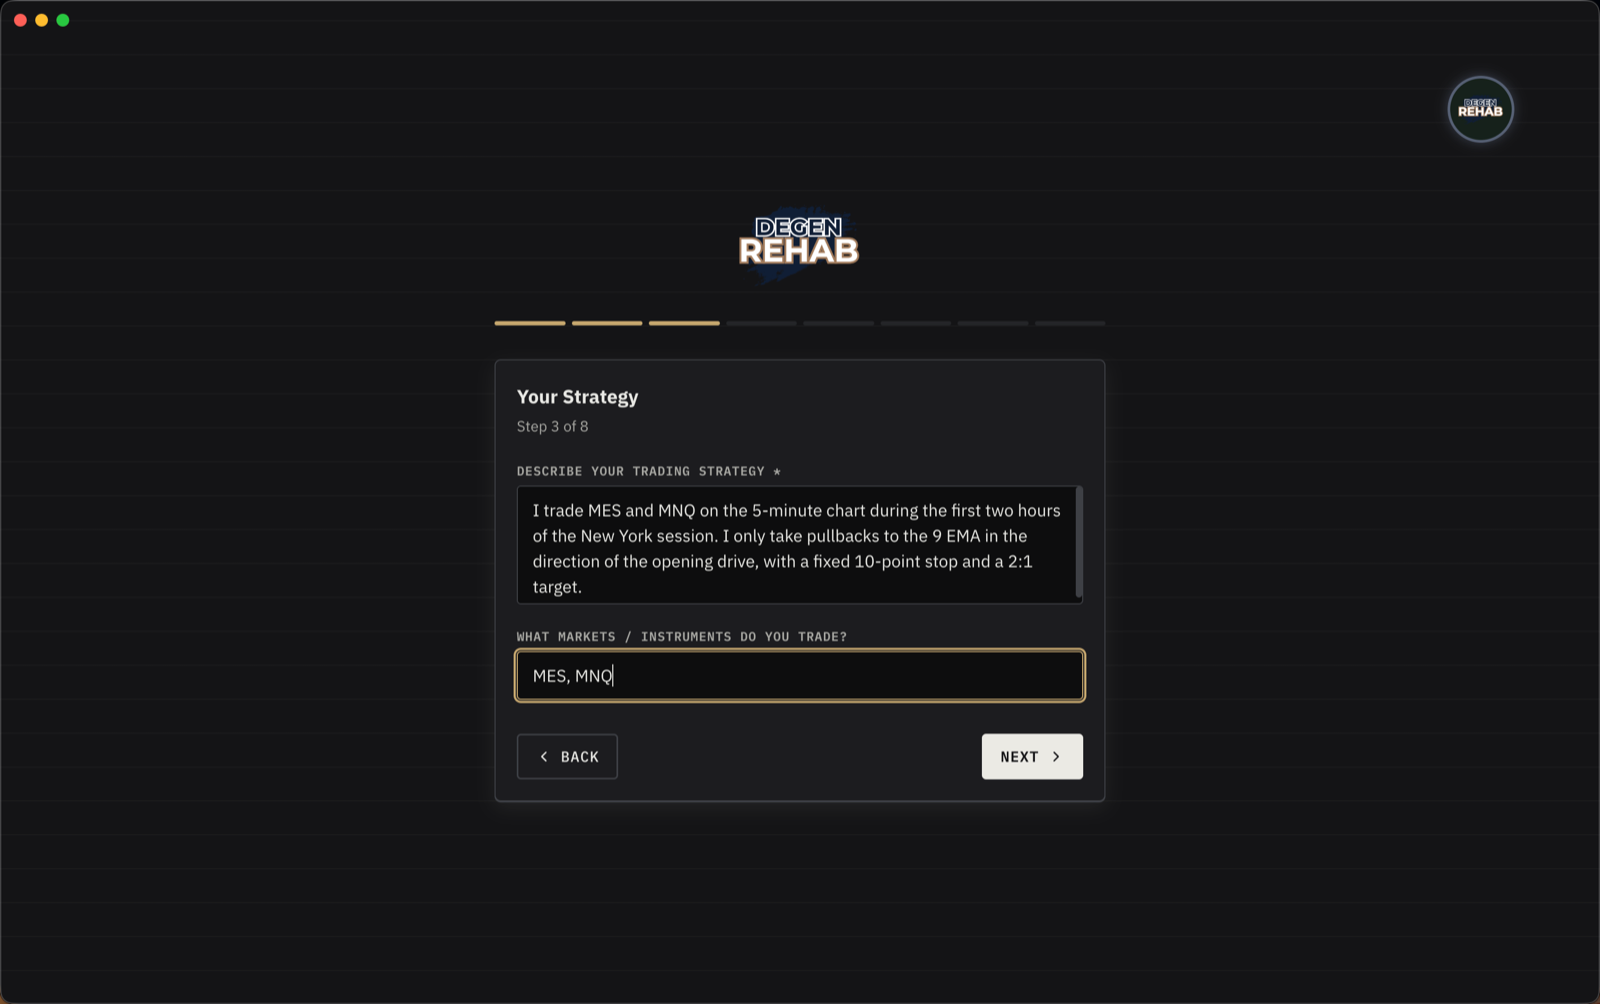
Step 3 — Your Strategy
Describe how you trade and which markets you trade. A couple of sentences is enough.
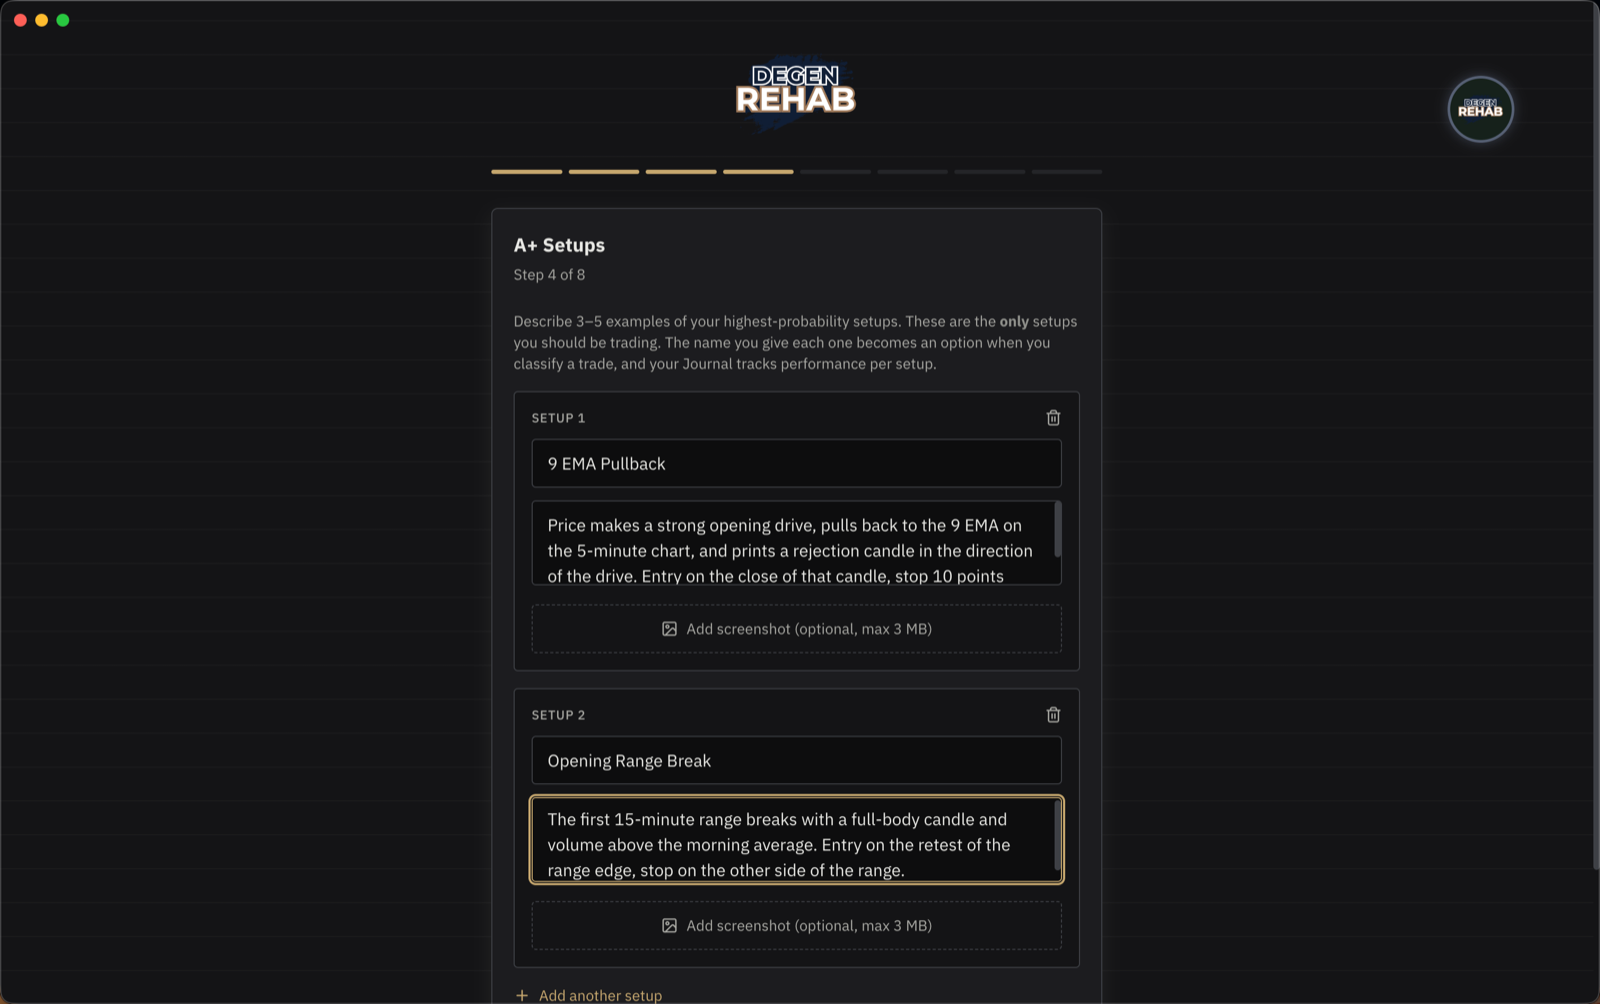
Step 4 — A+ Setups
These are the only trades you should be taking. Give each setup a short name and a real description of what has to be true for it to be A+ quality. You can attach a chart screenshot. Add three to five.
The names matter: after every trade the app asks which setup it was, and the Journal tracks results per setup. Any trade that is not one of these counts as off-plan.
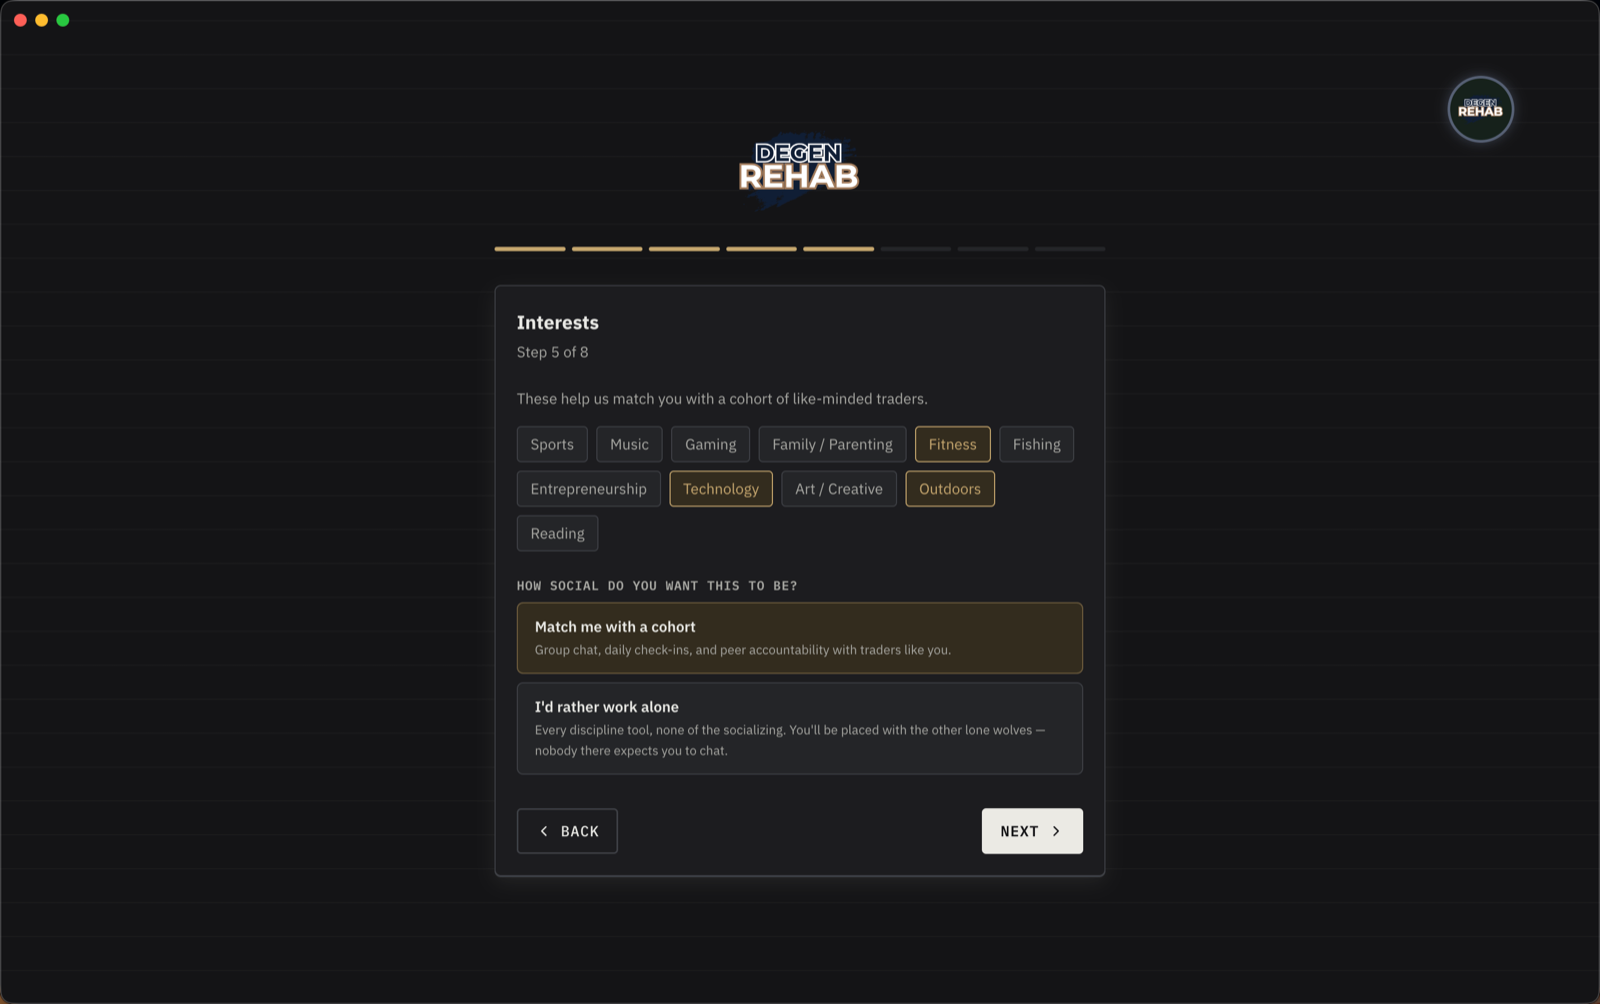
Step 5 — Interests
Pick a few interests. They help the app match you with a cohort of traders you have something in common with. You're placed the moment you finish onboarding: the first members all land in the Founders Crew, and as it fills up new cohorts form, preferring people in your part of the world.
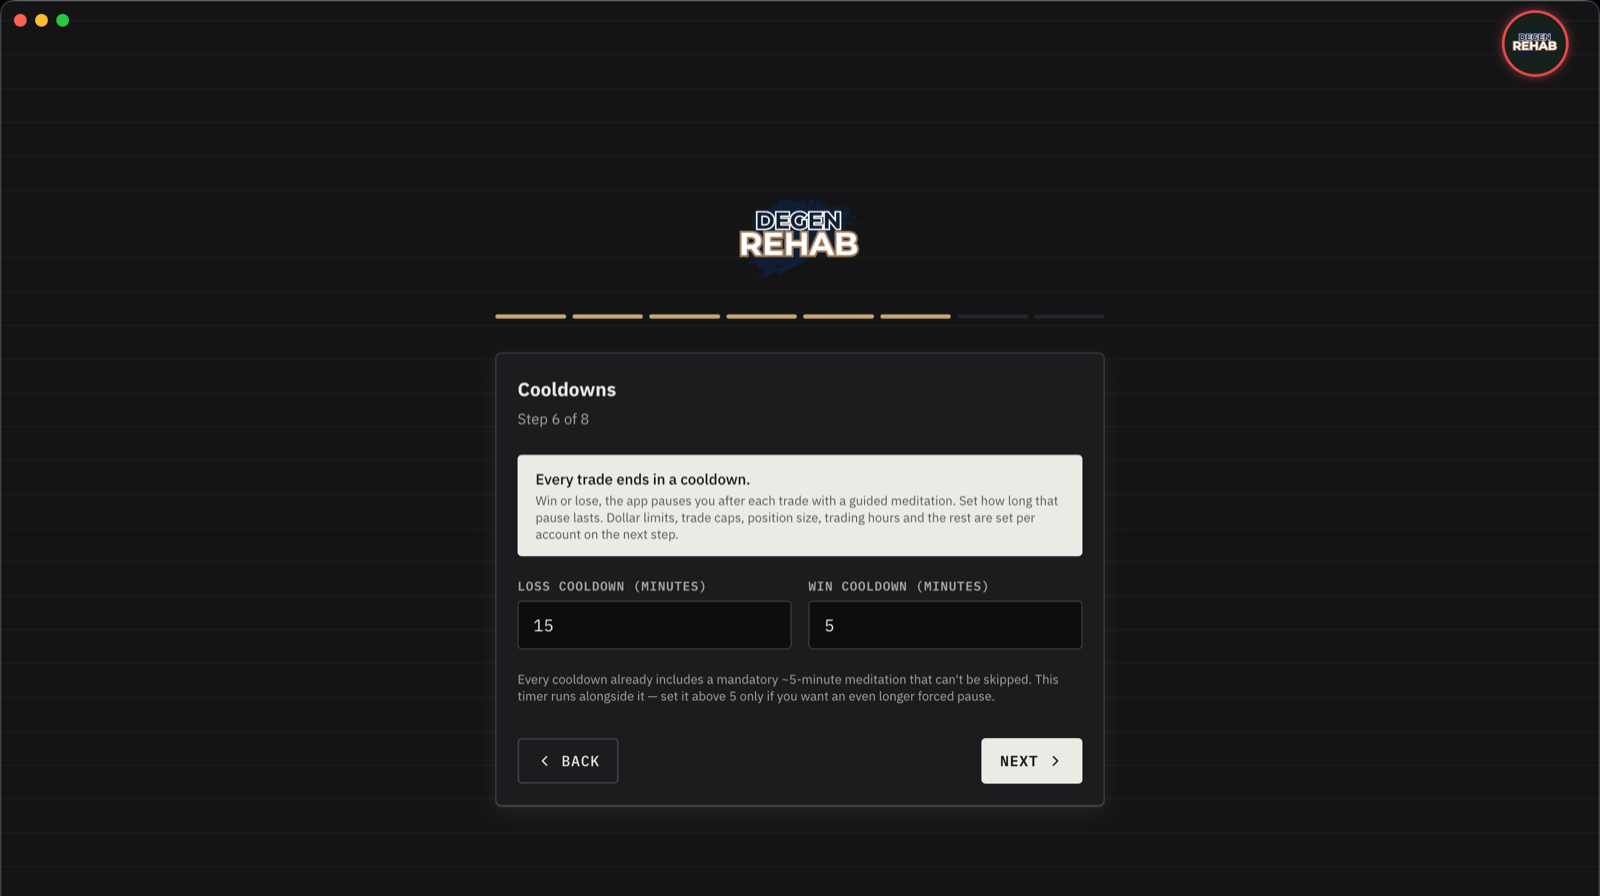
Step 6 — Cooldowns
Every trade, win or lose, is followed by a forced pause with a guided meditation. Set how long that pause lasts after a loss and after a win, in minutes. Five is the minimum because the meditation itself is about five minutes; the timer and the meditation run at the same time.
Step 7 — Your Accounts
Start with the Connect your platform now card at the top. Click Connect with my Tradovate / NinjaTrader login, sign in on the page that opens in your browser, and come back to the app. Every account on that login appears below as its own card, named exactly as your platform names it. All you add is a max daily loss on each.
You can also add accounts by hand, evaluations and funded alike. Each one gets its own limits and locks independently. The two fields that matter most:
- Platform account name. Type it exactly as your platform shows it, for example
APEX-123456. This is what links your live trades to the account. - Max daily loss. The most you are willing to lose in one day on this account. On winning days the limit trails your peak, so you can never give back more than this amount.
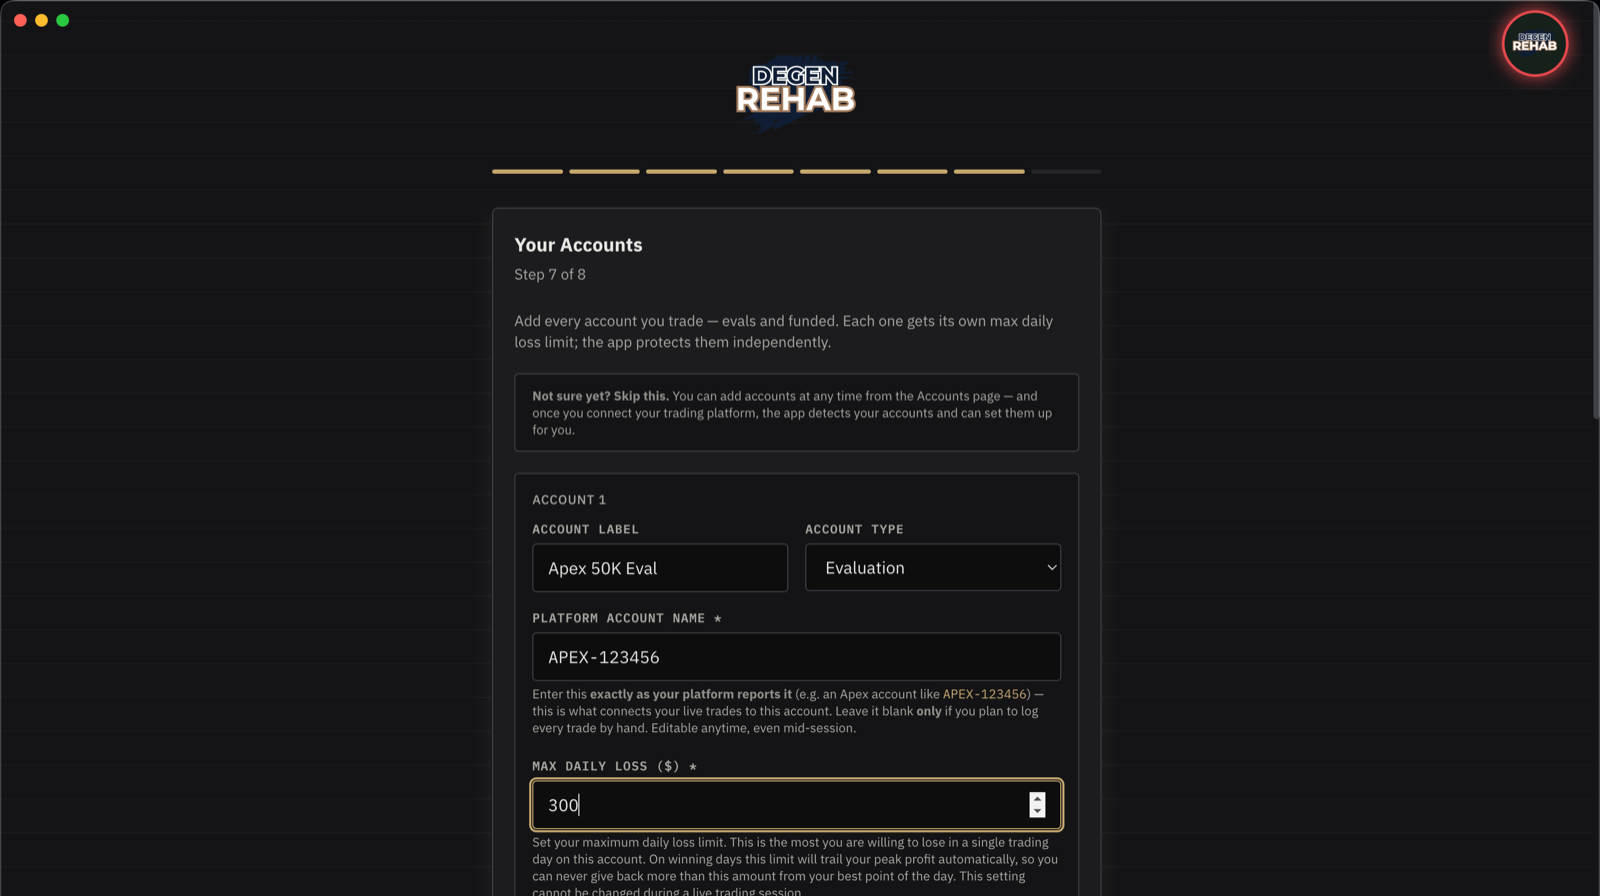
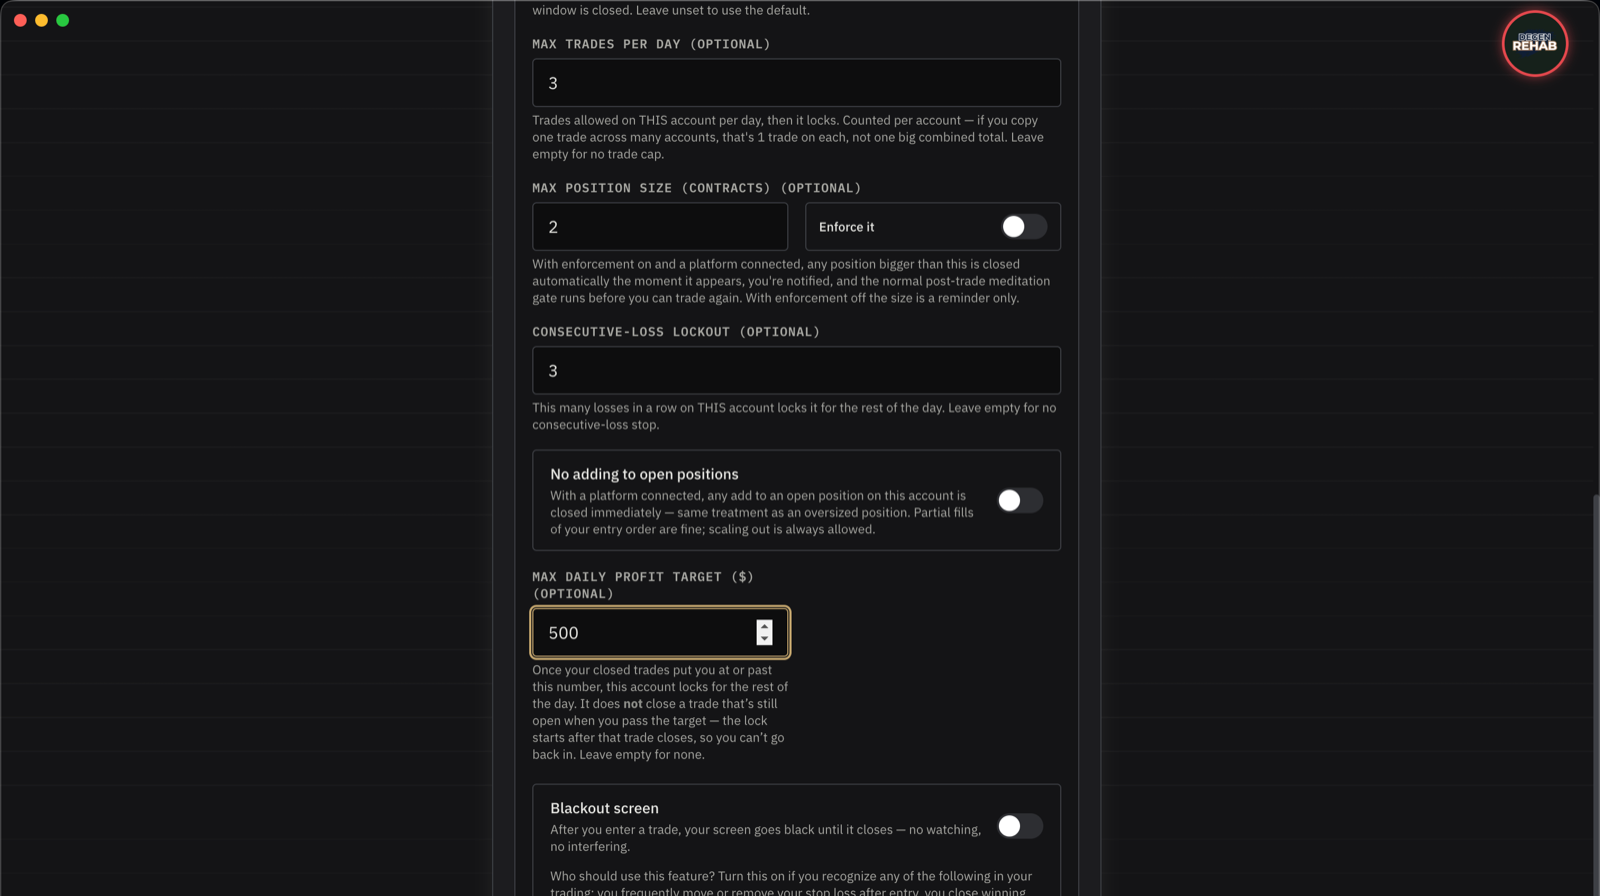
Further down you can set this account's trading hours, a max trades per day, a max position size, a consecutive-loss lockout, no adding to open positions, a daily profit target, and the blackout screen. Everything except max daily loss is optional. The Accounts & daily limits guide explains each one.
Made a mistake on an earlier step? There is a Back link at the top of every step and a Back button at the bottom. Nothing is saved until you finish the last step.
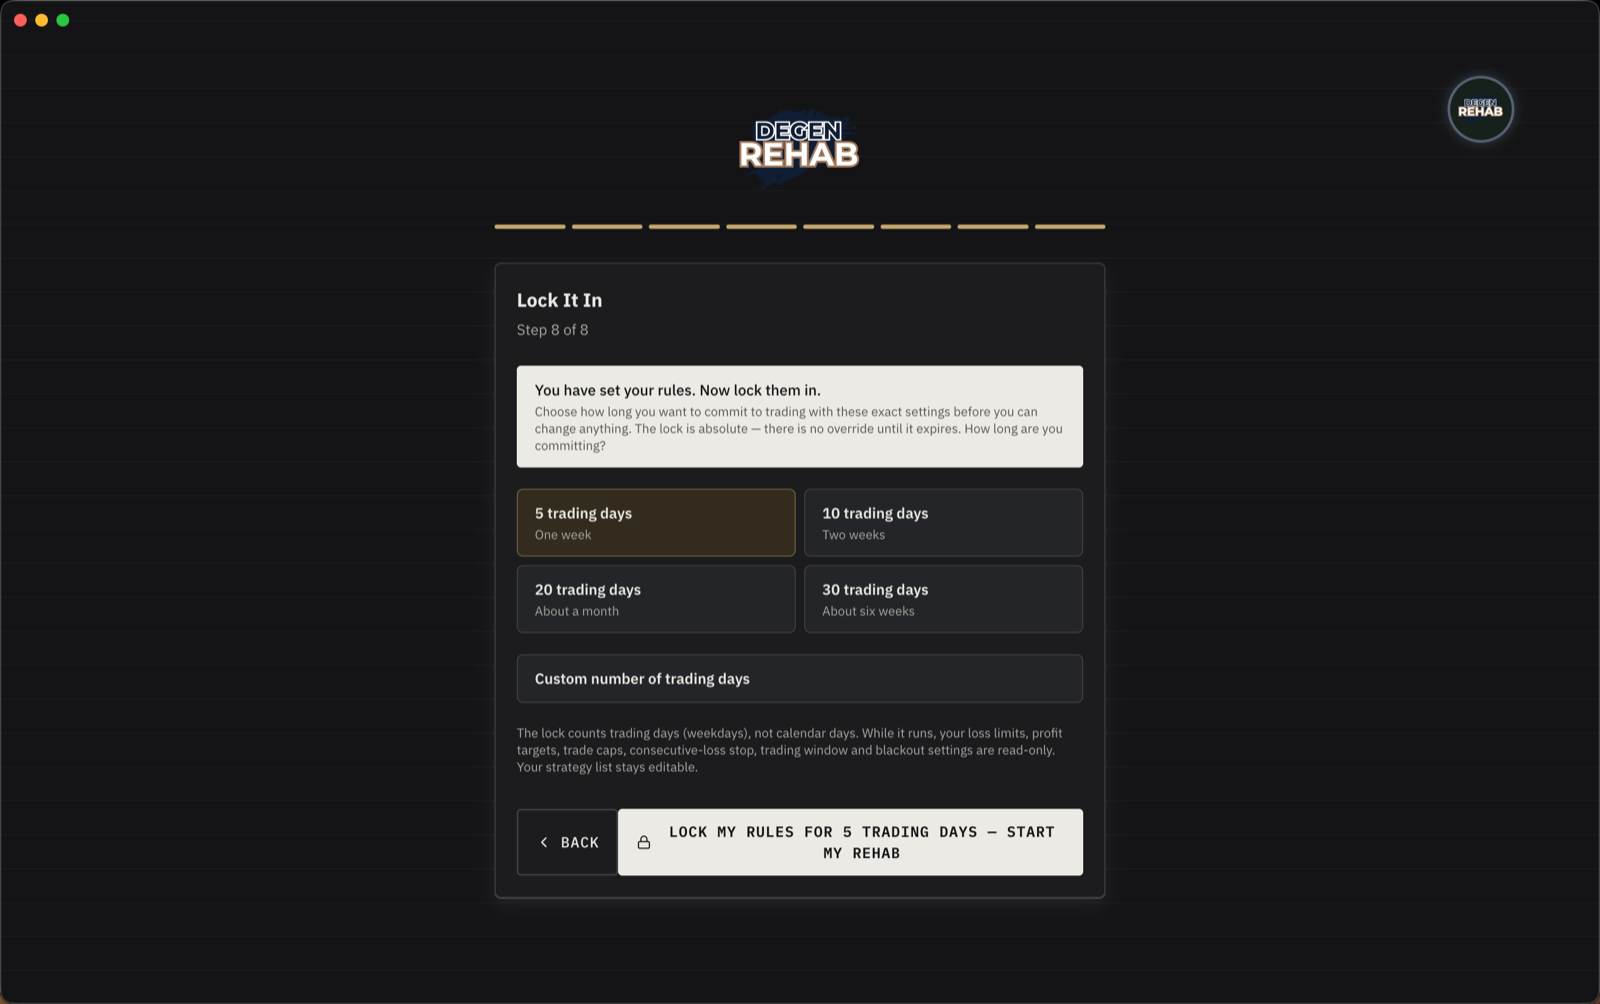
Step 8 — Lock It In
Choose how many trading days you commit to these exact rules. While the lock runs, your loss limits, profit targets, trade caps, consecutive-loss stop, trading window, and blackout setting are read-only. There is no override. Your strategy list stays editable.
What happens next
After you lock in, the app asks you to activate your membership. That is covered in Membership, free trial & access codes. Then you land on your Dashboard with your platform locked until your first morning ritual.